Imagine waking up one morning to discover that your website is offline, your customer data is inaccessible, and your business has stopped receiving orders. Whether the cause is a server failure, a cyberattack, accidental data deletion, or a natural disaster, unexpected downtime can cost you money, customers, and trust.
A hosting disaster recovery plan is a documented strategy that explains how to restore your website, hosting environment, applications, and critical data after a disruption. It outlines the steps to follow, the resources needed, and the people responsible for getting your online operations back up and running.
The good news is that you don’t have to wait for a disaster to figure out what to do. This article explains how to create a hosting disaster recovery plan, protect your website data, minimise downtime, and prepare your business to recover quickly when something goes wrong.
A plan matters because stress makes decisions harder. When a site is down, people look for someone to blame and something to fix. A written plan replaces guesswork with a checklist that anyone on your team can follow. It also links to business continuity, which is the wider effort to keep a business operating during and after a disruption. Your website is one part of that effort.
Not sure what your hosting includes? Compare Hosting Plans from Truehost Uganda
What Should a Hosting Disaster Recovery Plan Include?
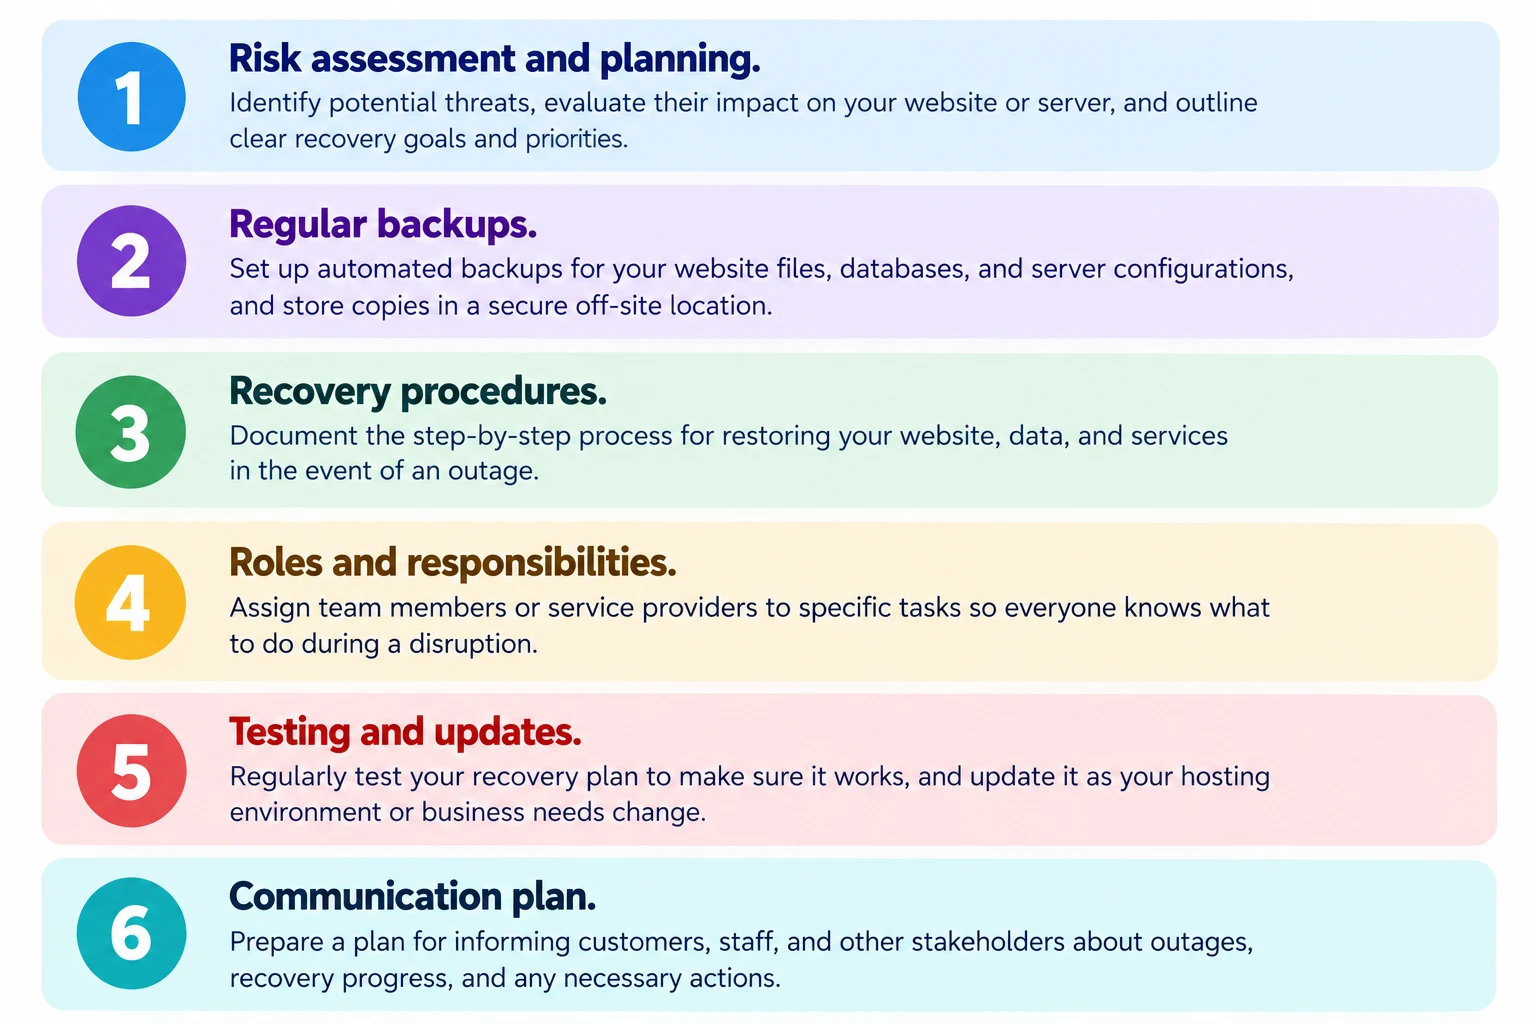
1) Critical Website and Hosting Resources
Identify the websites, databases, applications, server configurations, domain settings, and other resources that must be restored first.
A business website might depend on its files, a database, a domain, DNS settings, an SSL certificate, and email. If any one of these is missing after an incident, the site may not work even though the others are restored. Listing them all shows you what recovery really involves.
2) Risk Assessment
Identify potential threats, such as hardware failures, ransomware, human error, hosting provider outages, and natural disasters.
Not every threat is equally likely or equally damaging. Accidental deletion and failed updates happen far more often than natural disasters for most websites, so a good assessment looks at both likelihood and impact.
3) Recovery Time Objective (RTO) and Recovery Point Objective (RPO)
Explain how RTO defines the maximum acceptable recovery time, while RPO defines how much data loss, measured in time, your business can tolerate.
RTO is the target for how long your service can be down before it must be working again. RPO is how far back in time you can afford to lose data. For example, an online store that cannot afford to lose more than an hour of orders has an RPO of about one hour, which means backups or replication must run at least that often. These targets drive your backup frequency, your recovery setup, and your cost, and tighter targets generally cost more.
4) Backup and Data Restoration Procedures
Document what needs to be backed up, where backups are stored, how often they run, and how data can be restored.
Backups should cover website files, databases, application configurations, DNS settings, and other critical resources. Store them separately from the primary hosting environment and keep more than one recovery point. A backup you have never restored is an assumption, not a guarantee.
5) Recovery Infrastructure
Specify the alternative servers, hosting accounts, cloud environments, or other resources needed to restore operations.
This is where your site will run if the main environment is unavailable. Having an account or environment ready in advance is faster than finding one during an outage. VPS hosting is one option for a standby environment.
6) Roles and Responsibilities
Assign clear responsibilities for identifying incidents, restoring services, communicating updates, and approving recovery decisions.
Someone must decide when an incident counts as a disaster, someone must carry out the restore, and someone must talk to customers. Naming a backup person for each role covers holidays and illness.
7) Communication and Escalation Procedures
Explain how to notify employees, customers, hosting providers, and other stakeholders during an outage.
Escalation means who to contact next if a problem is not resolved within a set time. Keep contact details for your hosting provider’s support channels in the plan, and store them where you can reach them if email is down.
How to Create a Hosting Disaster Recovery Plan Step by Step
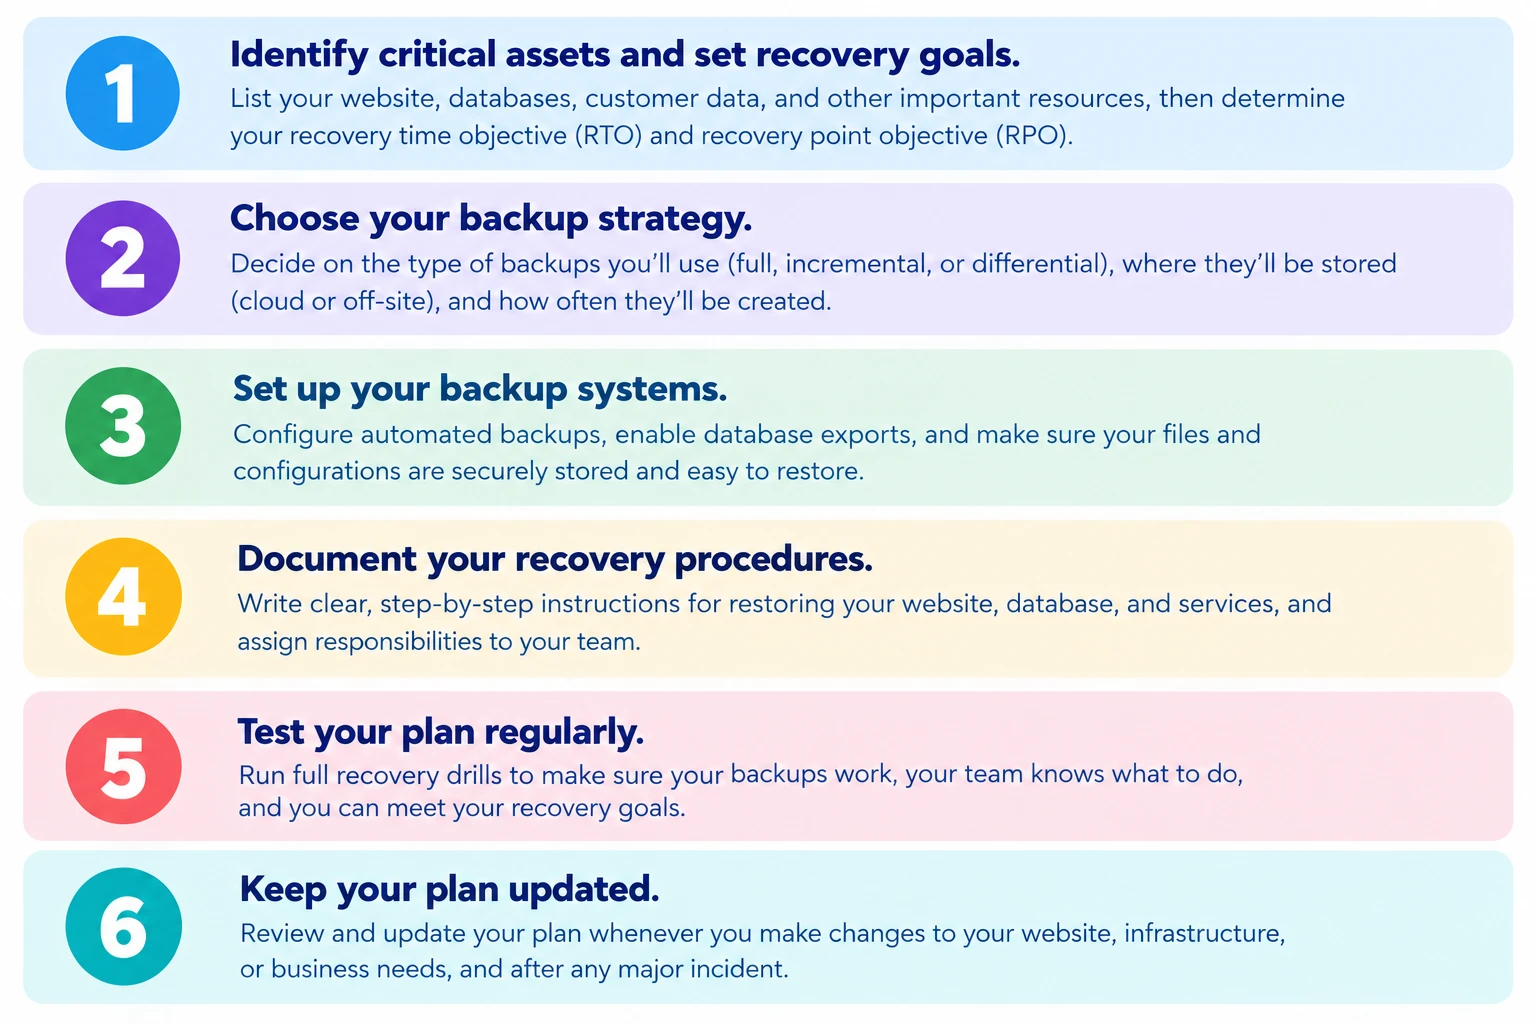
Step 1: Identify Your Critical Systems and Data
List all the websites, databases, applications, integrations, and services your business depends on. Rank them by importance so your team knows what to restore first.
Include third-party services such as payment gateways, email providers, and analytics, since your site may break if they fail. A company website that depends on email for enquiries, for instance, needs email on the list too. This ranking decides the order of recovery and where your effort and budget go.
Step 2: Assess Potential Risks and Their Impact
Evaluate the threats most likely to affect your hosting environment. Consider the likelihood of each incident, its potential business impact, and the resources required to recover.
A simple table of threat, likelihood, impact, and response is enough. A ransomware attack on a database-driven application could be rare but severe, while a mistaken file deletion could be common but quick to fix. Weighing both helps you spend where it matters.
Step 3: Set Your Recovery Goals
Define realistic RTO and RPO targets based on your business needs, budget, and technical capabilities.
Ask what each hour of downtime and each hour of lost data costs your business. A blog may tolerate a day of downtime, while a busy store may need much less. Be realistic, because ambitious targets need frequent backups, standby infrastructure, and more money. Record the targets for each critical system, since they will not all be the same.
Step 4: Establish a Reliable Backup Strategy
Choose which files and databases to back up, set a backup schedule, and store copies in a separate location. Make sure backups are protected against unauthorised access and ransomware.
Your schedule should match your RPO. Keep several recovery points, not just the latest, because a problem such as malware may go unnoticed for days. Protect backups with strong access controls and encryption where appropriate, and limit who can delete them so one compromised account cannot erase everything. CISA’s #StopRansomware Guide recommends keeping offline, encrypted backups and testing them. Taking backups alone does not guarantee recovery, so Step 9 covers testing them.
Step 5: Choose a Recovery Environment
Determine where your website will run if the primary hosting environment becomes unavailable. Options may include a secondary server, another hosting account, or a cloud-based recovery environment.
Choices range from a ready standby that can take over quickly to an empty account that you set up from backups. Faster options cost more, so match the choice to your RTO. Check what your hosting provider offers, since backup, restoration, and redundancy features vary by provider and plan. A cloud hosting environment is one possible recovery option.
Step 6: Document the Recovery Process
Write clear, step-by-step instructions for restoring files, databases, configurations, applications, and other essential services. Include the access details and dependencies required for recovery, stored securely.
Write for a person who has never done this before. List the order of tasks, which backup to use, how to point your domain to the recovery site, and how to confirm the site works. Store sensitive credentials in a password manager or another secure system, not in a plain text file. OWASP’s Top Ten covers common security risks around access control and credentials. Keep a copy of the plan somewhere you can reach it if your website, hosting account, or email is down.
Step 7: Assign Responsibilities
Name the people responsible for making recovery decisions, contacting the hosting provider, restoring data, testing the website, and updating stakeholders.
Give each role a named person and a deputy. Decide who has authority to approve spending, such as paying for emergency support, so no one waits for permission while the site is down.
Step 8: Prepare a Communication Plan
Create a process for informing staff and customers about outages, expected recovery timelines, and service restoration. Identify alternative communication channels if your primary website or email service is unavailable.
Prepare short message templates in advance. Use a channel that does not depend on the failed system, such as social media or a messaging group. Be honest about what you know and share updates at regular intervals.
Step 9: Test Your Disaster Recovery Plan
Run recovery exercises to confirm that backups work, restoration procedures are accurate, and your team understands its responsibilities. Record any issues and correct them.
Restore a backup to a separate environment and check that the site, database, and integrations work. Time the exercise to see whether you meet your RTO. A walk-through of the plan with your team can also reveal missing steps and unclear roles. Restoring to a new host follows the same steps as a move, so our website migration guide can help.
Step 10: Review and Update the Plan Regularly
Update the plan whenever your hosting environment, website architecture, business priorities, or team responsibilities change. Schedule periodic reviews and tests rather than waiting for an incident.
Common triggers include moving hosts, adding a payment integration, changing staff, or launching a new site. Keep a version history and the date of the last review so you can see at a glance whether the plan is current.
Common Hosting Disaster Recovery Mistakes You Should Avoid
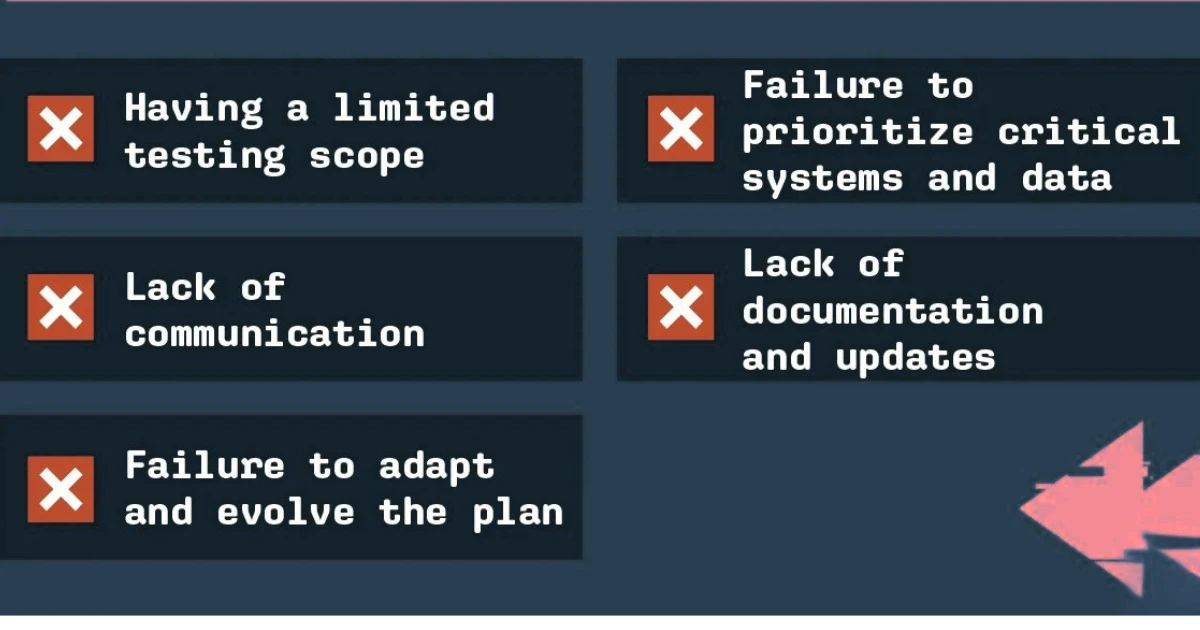
- Relying on a single backup stored on the same server as your website.
- Failing to test whether backups can be restored.
- Setting recovery goals that do not reflect business needs.
- Leaving recovery responsibilities unclear.
- Keeping recovery instructions outdated.
- Storing backup credentials insecurely.
- Ignoring databases, email services, DNS settings, or third-party integrations.
- Assuming your hosting provider’s backups cover every recovery requirement.
If the only backup sits on the same server, one failure or attack can destroy both the site and its backup, so keep copies in a separate location. Untested backups may be incomplete or corrupt, and you will only find out when you need them. Recovery goals that ignore business needs lead to over-spending or to downtime you cannot afford. Unclear responsibilities waste the first hours of an incident, and outdated instructions send people to servers or accounts that no longer exist.
Insecure backup credentials let an attacker reach and delete your backups, so keep them in a secure system with limited access. Strong server security on your hosting helps protect the environment around them. Ignoring databases, email, DNS, or integrations leaves a restored site that does not function fully. Finally, provider backups vary by plan and may not include everything or follow your schedule, so read what your provider actually covers and fill the gaps yourself.
FAQs
How Often Should You Test a Hosting Disaster Recovery Plan?
There is no single correct schedule. It depends on your recovery targets, how often your site changes, and your resources. A practical approach is to test a full restore on a regular schedule and to retest after major changes such as a new host, a redesign, or a new integration. Critical sites may test more often.
Can a Small Business Create a Disaster Recovery Plan Without an IT Team?
Yes. A small business can start with a simple document that lists its critical systems, backup locations, key contacts, and restoration steps. Use your hosting provider’s documentation and support for technical tasks, and consider paid help for the parts you cannot do yourself. A basic plan that is tested beats a detailed plan that is never used.
What Is the Difference Between Disaster Recovery and High Availability?
Disaster recovery focuses on restoring services after a disruptive event, such as data loss or a major outage. High availability focuses on keeping services running, or minimising interruption, when individual components fail, often through redundant systems. High availability can reduce downtime, but it does not replace backups or a recovery plan, since problems like data corruption or deletion can affect redundant systems too. AWS’s disaster recovery whitepaper explains how disaster recovery objectives differ from availability objectives.
Does Managed Hosting Include Disaster Recovery?
Not necessarily. Managed hosting may include backups, monitoring, and technical support, but features vary by provider and plan. Check whether backups are stored off-site, how long they are kept, how restoration works, and what recovery times the provider commits to, if any. Do not assume that a managed plan covers every part of your recovery needs.
How Much Does a Hosting Disaster Recovery Plan Cost?
It depends on your requirements and the options you choose. The main factors are your recovery targets, the amount of data, backup frequency and storage, the recovery environment, whether you need standby infrastructure, and how much help you need to set it up and test it. Tighter RTO and RPO targets generally cost more. Start by deciding what downtime and data loss cost your business, then compare options against that.
Prepare Your Website Before Disaster Strikes
A hosting disaster can happen when you least expect it, but losing access to your website doesn’t have to mean losing your business. A clear recovery plan helps you protect your data, minimise downtime, and give your team a practical way to respond when problems occur.
Start by identifying your critical systems, setting realistic recovery goals, securing reliable backups, and documenting how to restore your services. Test the plan regularly and update it as your business grows.
Review your current hosting setup and backup arrangements. If your website depends on reliable hosting, explore hosting solutions that support your performance, backup, and recovery requirements.
Knowing how to create a hosting disaster recovery plan is only useful once it is written down and tested. Check what your hosting provider includes for backups and restoration, confirm what you must cover yourself, and put a date in your calendar to review the plan.
